

How To Install Putty On Windows 8
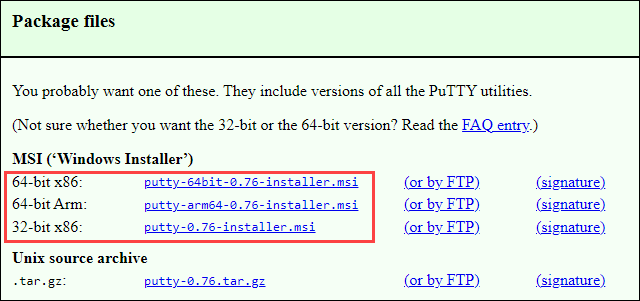
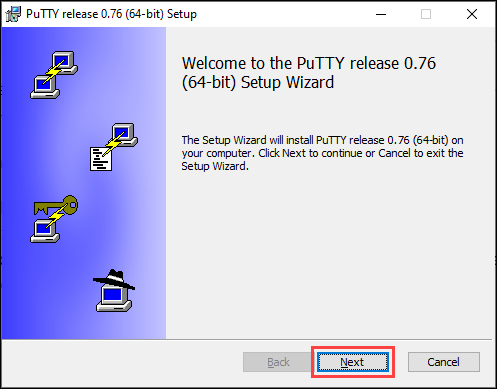
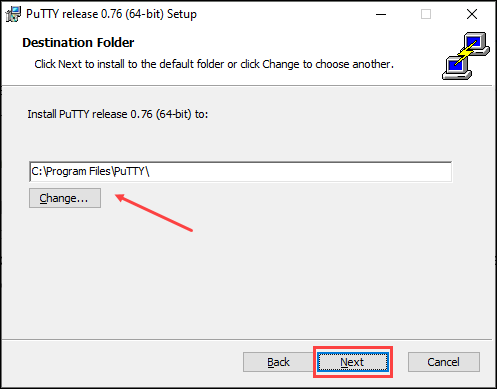
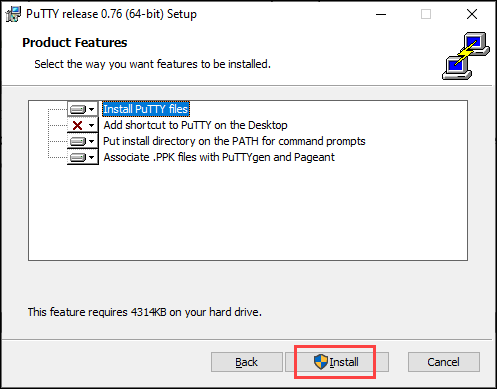
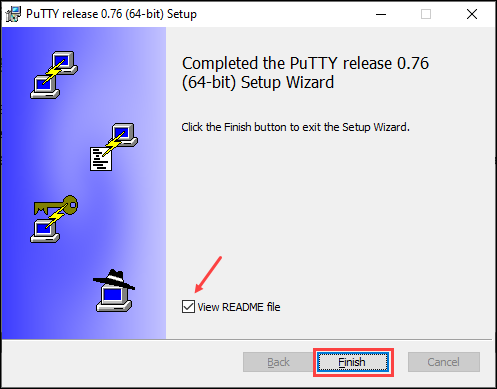
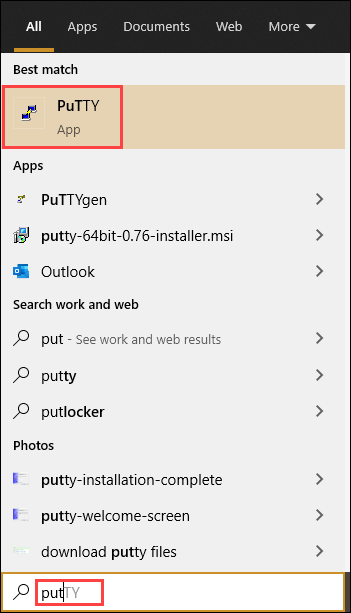
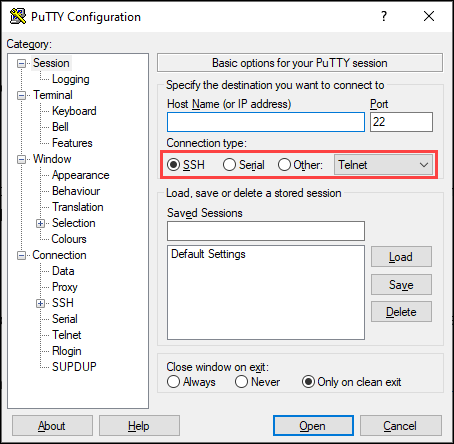
Introduction PuTTY is an open up-source SSH and Telnet client developed for Windows. This terminal emulator allows users to remotely connect to a computer to securely transfer files and manipulate data. In this tutorial, you lot will learn to install and configure PuTTY on Windows. Prerequisites: Follow the steps below to download, configure, install, and run PuTTY on your Windows car. Note: PuTTY is an SSH customer. Read our article nearly how SSH works to understand it fully. Download the latest PuTTY version from the official website: https://www.chiark.greenend.org.uk/~sgtatham/putty/latest.html Choose the appropriate MSI installer version for your system. Download the 64-bit version for 64-bit systems or the 32-flake version of PuTTY if your organisation is 32-fleck. Save the file to the desired folder. ane. Double-click the downloaded MSI file to start the installation. ii. Click Next on the welcome screen to continue with the installation. iii. Click Next if you don't need to modify the installation path. Click Change... to specify some other path. 4. Select which product features you want to install. Click Install. 5. Upon completing the installation, the programme shows a 'Setup complete' screen. Bank check/uncheck the View README file option if you want to see the developer's notes. Click Cease to go out the installer. Run PuTTY after the installation to make sure it functions properly. Double-click the icon on Desktop or search 'putty' in the search bar and press Enter. If at that place were no issues during installation, the PuTTY configuration window opens: The configuration options allow you to fix the connectedness type, port, and connect to a server. Choose between SSH, Telnet, SUPDUP, raw, rlogin, serial, or bare SSH connection, and enter a server hostname or IP address. Decision Afterward post-obit this tutorial, you should have PuTTY installed on Windows and prepare to use. Feel gratuitous to exam the unlike options PuTTY has to offer. Read our comparison commodity if you desire to acquire more about the divergence between SSH and Telnet, PuTTY'due south main features. For Ubuntu and Mac installation guides, cheque out our articles on installing PuTTY on Ubuntu and installing PuTTY on Mac. Was this article helpful? Aye No 
Installing Putty on Windows
Step 1: Download the Installer
Step two: Configuration and Installation
Step 3: Run Putty

Bosko Marijan
Having worked equally an educator and content writer, combined with his lifelong passion for all things high-tech, Bosko strives to simplify intricate concepts and make them convenient. That has led him to technical writing at PhoenixNAP, where he continues his mission of spreading knowledge.
Source: https://phoenixnap.com/kb/install-putty-on-windows
Posted by: munozfrapter.blogspot.com
0 Response to "How To Install Putty On Windows 8"
Post a Comment